
Every table within the Brandle Presence Manager is set to a specific default View so that you can quickly see the most important data for your POPs. However, each Table has multiple pre-determined Views you can select to accomplish different work. Additionally, you can alter these Views, or create new Views, using the Customize View feature.
Table View options are available on the Inventory, Discovery, and GRC tabs of the Brandle Presence Manager. Each tab has different default views set and each tab has different columns you can select to view or hide.
Inventory
In the Inventory tab, you can select pre-canned Views (such as Status, Tags & Contacts, Identity) or click the Customize Views choice to add or hide columns.
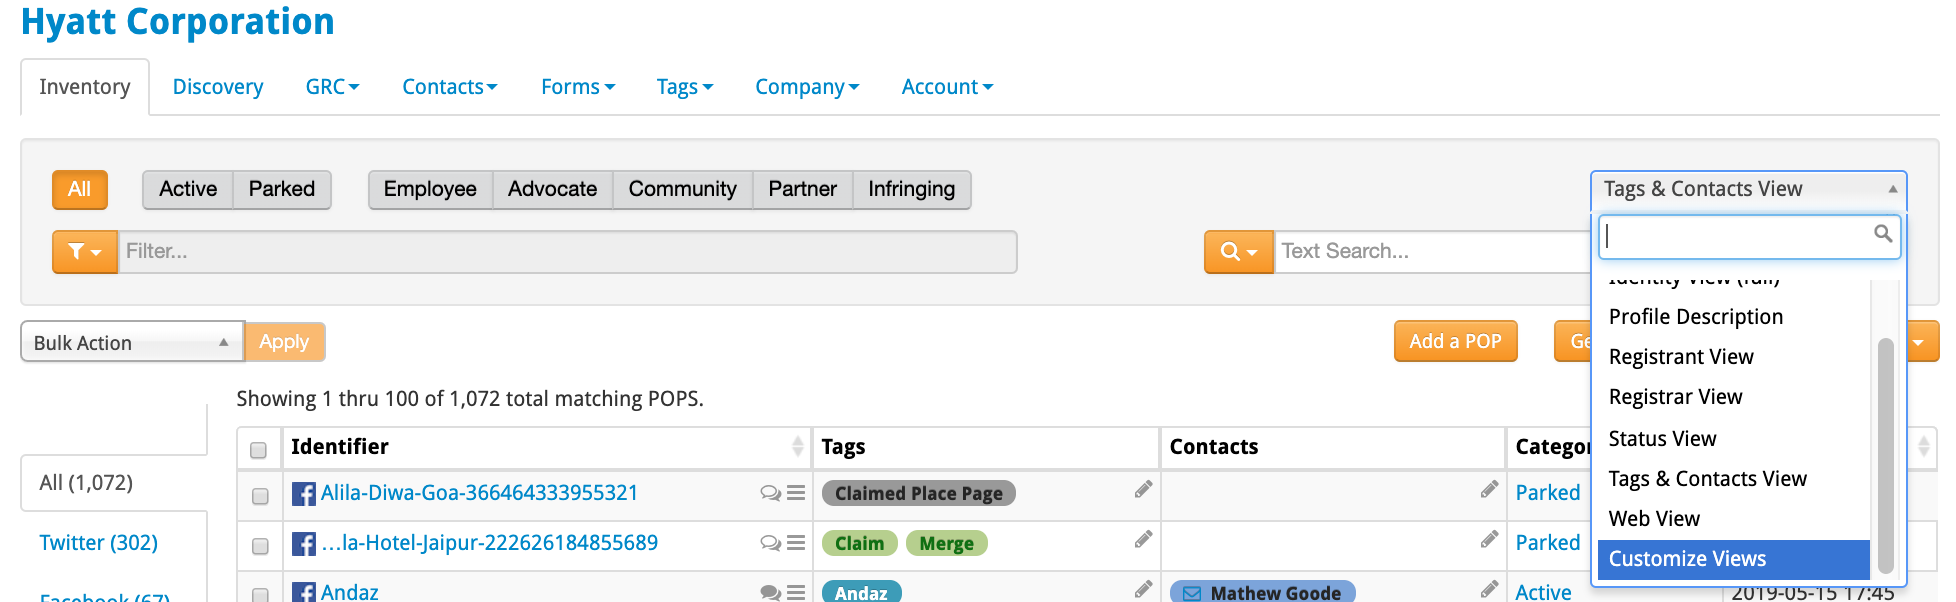
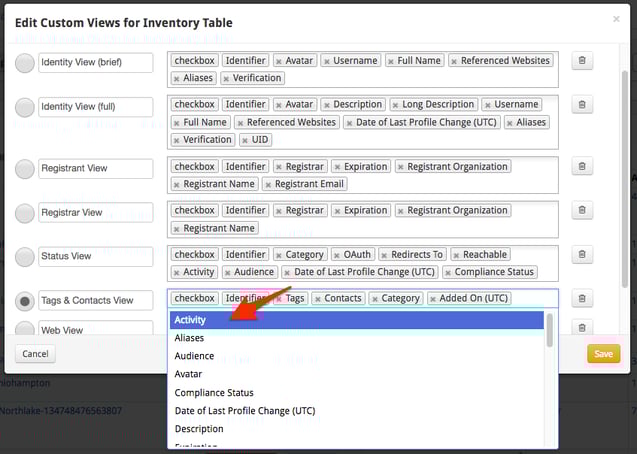
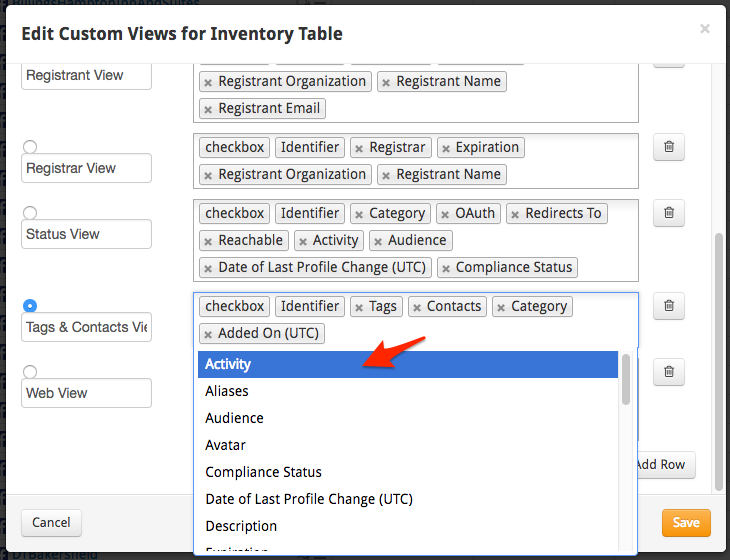
To add a column, just click on an empty portion of the box and select a new column from the drop-down menu. To delete a column from a View, just click the "x" on that column entry. Be sure to click Save to make the change.
Discovery
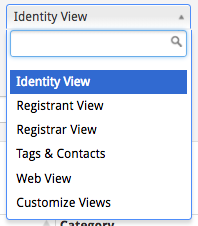
In the Discovery tab, you have a number of View options for viewing your data. The default View is Status and the other pre-canned View is Tags and Contacts (so you can easily apply these to POPs in Discovery, if you choose). The Registrant and Registrar Views are helpful for determining the origin of websites and domains discovered.
GRC
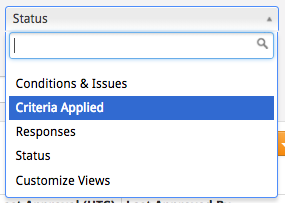
The GRC tab has View options to help you review and process Issues, Criteria and compliance.
Setting Custom Views
To set a customized view in any Table, just select Customize View in the View window of any Table. Then add or remove columns in predetermined views or create a completely new view that you title by clicking Add Row at the bottom of the window.
Comments
0 comments
Please sign in to leave a comment.